Quick Start Tutorial for Hitonic FTPSync
This step-by-step tutorial describes how you can start using Hitonic FTPSync. The tutorial does not describe all features of the application.
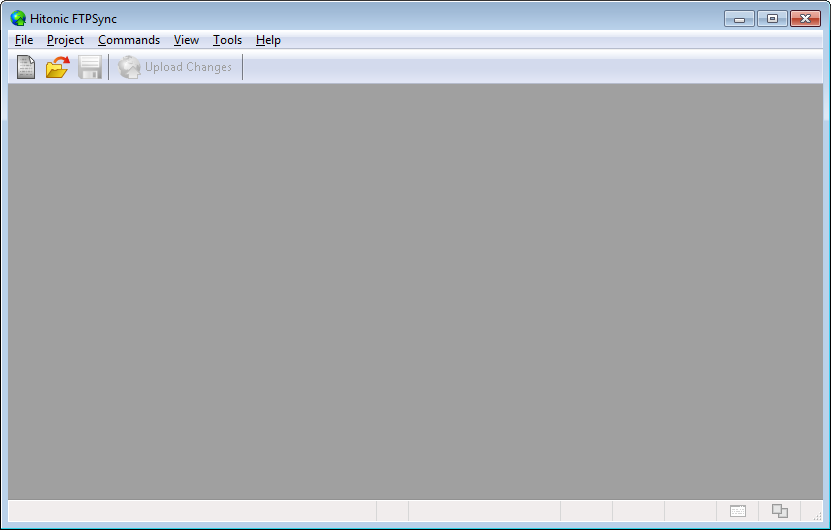
Step 1. Start the application
Step 2. Create a new project
Select the File / New Blank Project menu item.
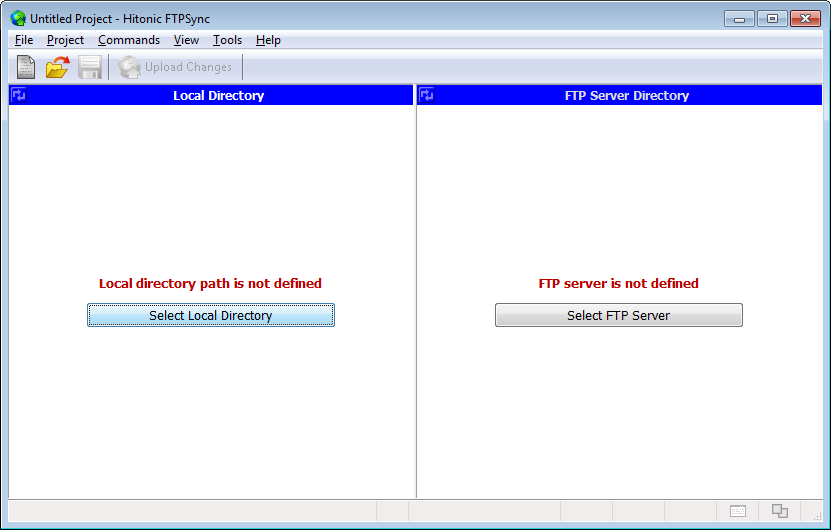
Step 3. Select the local directory of your site
Click the Select Local Directory button.
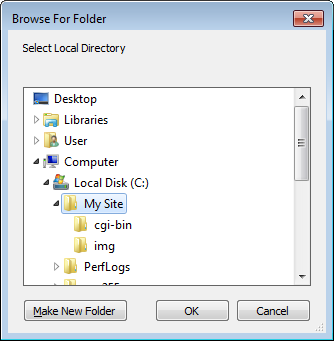
After that, the local contents of your site are loaded.
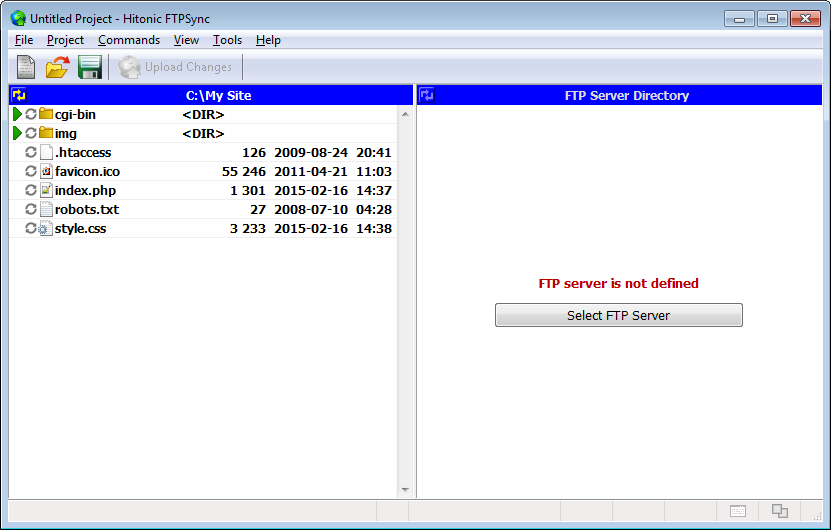
Step 4. Select the FTP server
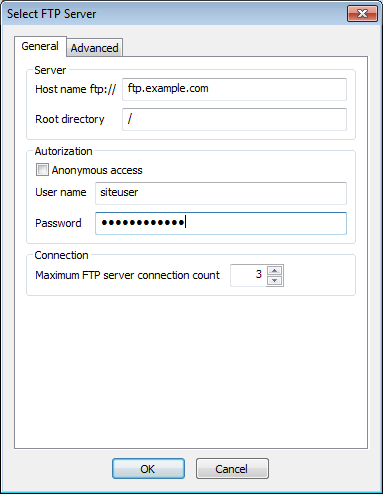
Select the FTP server by clicking the Select FTP Server button. Enter your FTP server connection settings (domain name, root directory, authorization, etc.).
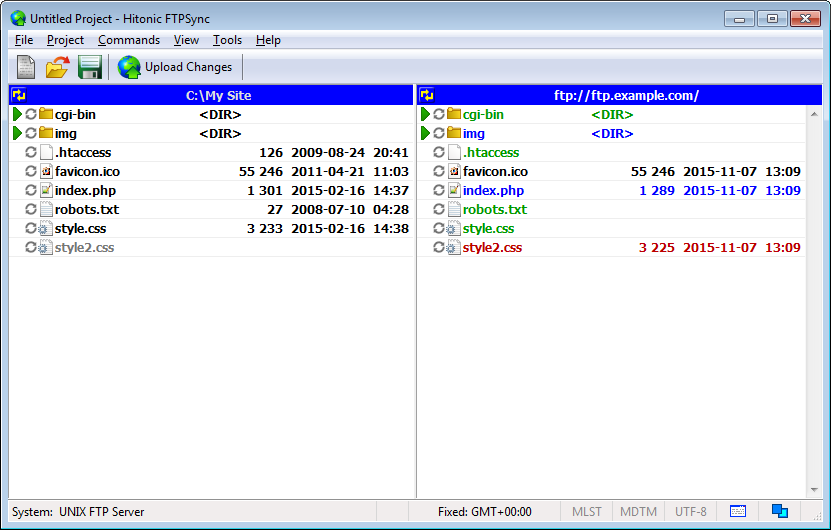
After that, the FTP server directory contents are loaded.
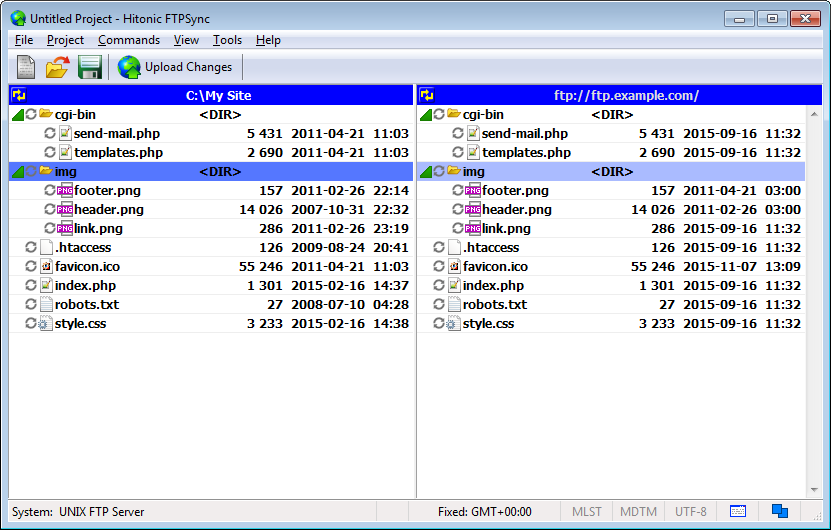
Step 5. Overview changes
You can expand contents of directories by clicking ![]() .
.
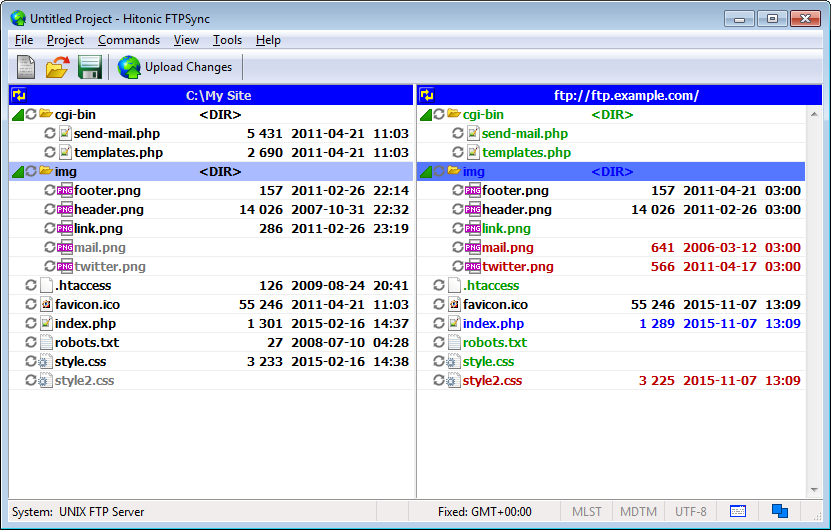
Tree items (files and directories) have a different color depending on the necessary actions to synchronize:
- Black - unchanged item
- Gray - non-existent item
- Green - new item on an FTP server
- Red - deleting item from FTP server
- Blue - changed item on an FTP server
So now you see all the difference on file systems of the local computer and the remote server.
Step 6. Upload changes to the FTP server
Click the Upload Changes button.
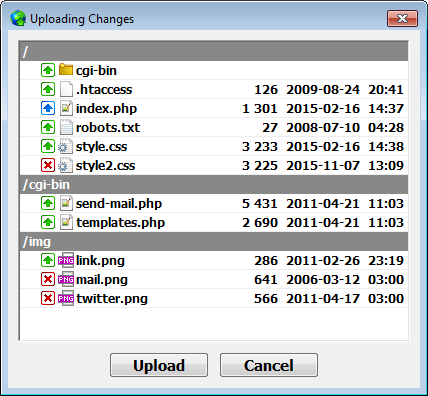
Verify the changes and press the Upload button. The changes will be uploaded to the FTP server.
That's all